Create and launch your first chatbot
Create a chatbot, add reliable knowledge, test real questions, and publish a website widget or a standalone chat page.
On this page
Your first chatbot needs a clear purpose, trustworthy knowledge, and a successful test conversation. This walkthrough uses Build from Scratch, so you can review each setting before going live.
Before you begin
Sign in to the workspace that should own the chatbot. Have a name, a short description of its job, and a public website or supported document ready. Creating chatbots and storing sources are subject to your workspace's resource limits. AI responses use the workspace's AI allowance when you select Managed model access.
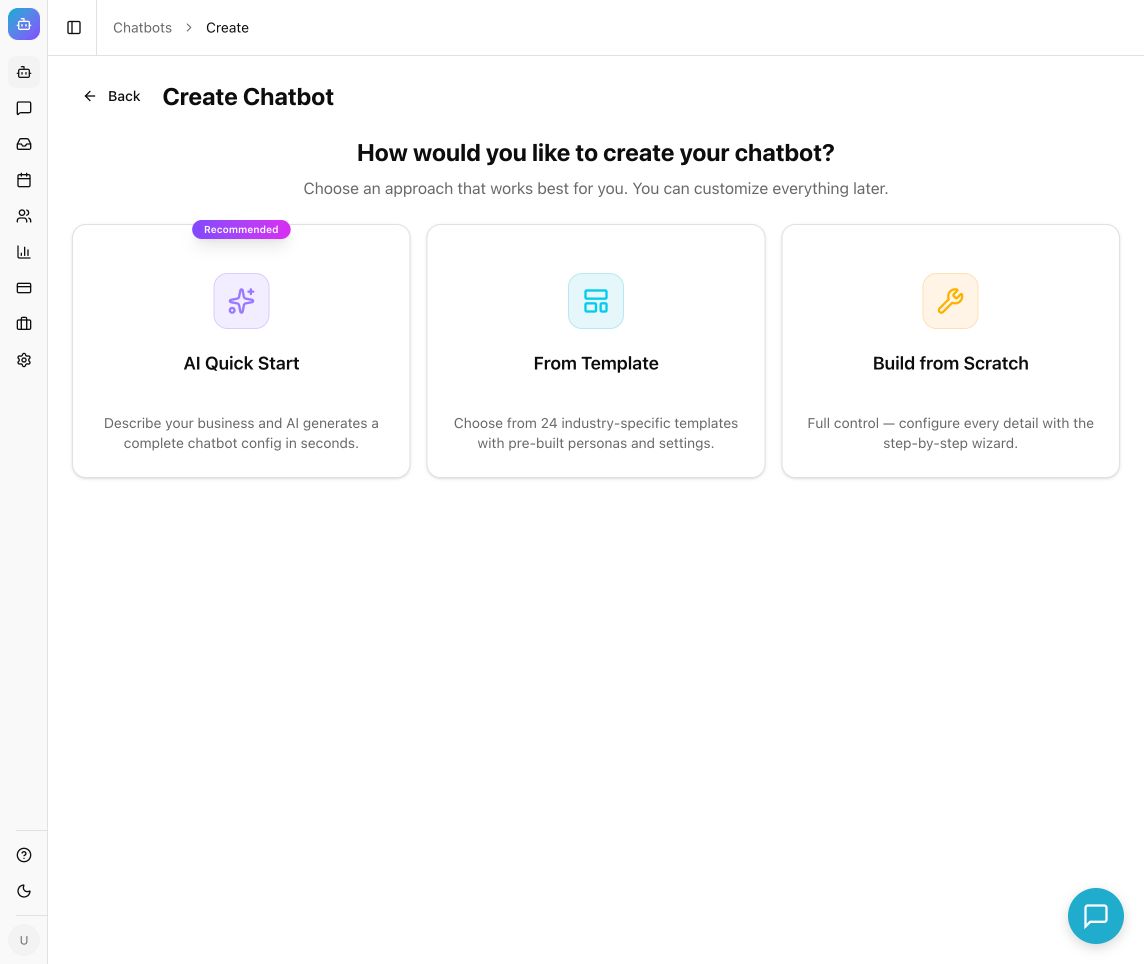
Example from the Chyt.ai dashboard (September 2026).
Step 1: Create the chatbot
- Open Chatbots and select Create New Chatbot. An empty workspace also offers Create your first chatbot.
- Choose Build from Scratch.
- Enter Name, an optional Description, and a System Prompt explaining the assistant's role and boundaries.
- Select Next to create the chatbot and continue to knowledge sources.
For example, a useful prompt is: “You help customers understand our products and support policies. Use the provided knowledge. If a detail is missing, say that you do not have it and direct the customer to our support team.” Add only a real support route that you maintain.
Step 2: Add knowledge
- In Add Knowledge Sources, use Add Source to choose Website URL, Upload File, or Q&A Entries.
- Complete the source dialog and submit it.
- Wait for the source to reach Ready before judging answer quality. Pending, Crawling, and Processing mean ingestion is still running.
- Check that the source has content, such as a nonzero chunk count, then select Next.
Start with a focused FAQ or product guide. A large collection of unrelated material makes it harder to diagnose the first results.
Step 3: Configure and test
- Review Quick Configuration, including Widget Color, Welcome Message, and the response settings shown.
- Select Next to open Preview.
- Ask three questions: one directly covered by a source, one phrased differently, and one outside the chatbot's scope.
- Check that factual answers match your source and that the assistant handles missing information sensibly.
- Continue to the deployment step when those checks pass.
For a full model choice, open the saved chatbot's Settings → Model. The model catalog shows the choices currently available to your workspace.
Step 4: Publish
- Select Deploy & Go Live in the wizard.
- Copy Embed on Your Site for a website widget, or copy the Share via Link address for a full-screen chat page.
- Open the published experience as a visitor and send a test message.
- Use Go to Dashboard to return to the chatbot. Its ongoing controls are under Sources, Flows, Settings, and Preview.
Expected result: the chatbot is active, its knowledge is ready, and a visitor can use the enabled deployment channel.
Other starting points
AI Quick Start asks for Business Description, optional Industry, and Tone Preference, then offers sources and Generate Config. Review the proposed name, description, and system prompt before creating. Generated setup still needs factual review and testing.
From Template offers a starting configuration that you can customize. A template does not supply your business's policies or verify your source content.
If something goes wrong
If setup reports that the chatbot was created but a source or setting failed, open that existing chatbot and finish the missing step. Avoid creating duplicates. A source error should be resolved in Sources; a resource or trial limit should be checked in Billing. For a missing widget, follow the deployment guide.
Next: Add a website, upload documents, or choose a model.