Let visitors book meetings and manage appointments
Set availability and scheduling rules, connect a calendar when available, and review bookings from the dashboard.
Updated 3 min read
On this page
Before you begin
Decide your appointment timezone, working hours, meeting length, and required attendee details. Calendar sync requires a separately connected Google Calendar integration. Selecting a calendar option alone does not connect a Google account.
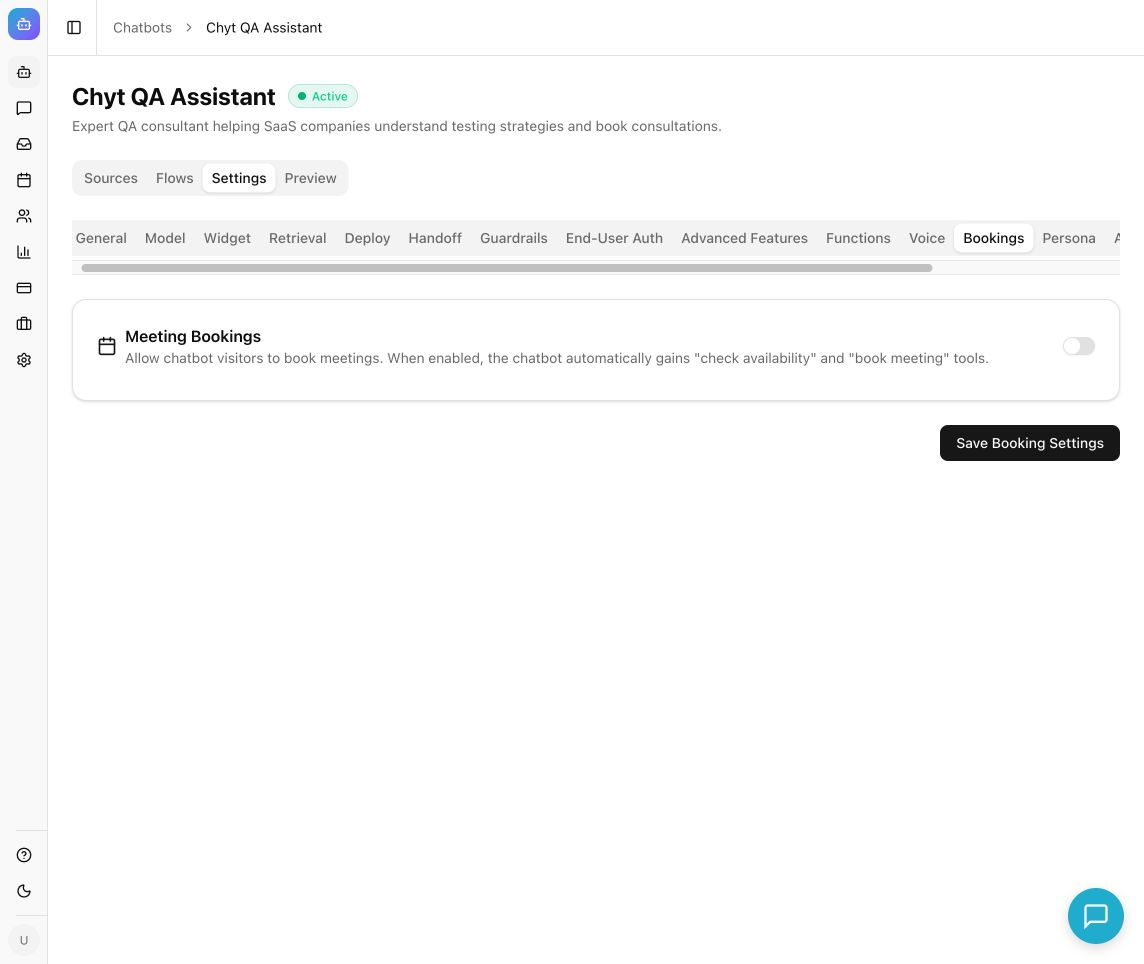
Example from the Chyt.ai dashboard (September 2026).
Configure booking availability
- Open Chatbots → your chatbot → Settings → Bookings and enable Meeting Bookings. This makes “check availability” and “book meeting” tools available to the chatbot.
- Under Available Hours, enable each working day and set its start and end time. Disable days when no appointments should be offered.
- In Scheduling Options, choose Default Duration and Buffer Between Meetings.
- Set Max Advance Booking (days) and Minimum Notice (hours) so visitors see suitable future slots.
- Select Timezone. Check this carefully before testing, especially if your team and visitors are in different countries.
- Under Requirements, choose whether to Require email address and Require attendee name. Write the Confirmation Message to match what your actual connected services deliver.
- Set Calendar Sync to No calendar sync or Google Calendar. If using Google, first connect the account in Settings → Integrations and verify its permissions.
- Select Save Booking Settings.
- In the chatbot preview, ask to book a meeting. Check available slots, supply fictional test attendee details, and confirm one test booking. Verify the booking record before treating the test as successful.
Manage the appointment list
- Open Bookings from the dashboard.
- Use Search bookings..., the status filter, and All Chatbots to locate an appointment.
- Check the date, duration, attendee, chatbot, and status. Open the calendar link when one is present and confirm the external event independently.
- For a pending booking, select Confirm when it is accepted. For a confirmed booking, select Complete after the meeting or Cancel when it will not take place.
- To add a booking yourself, open the create-booking dialog, select Chatbot, fill in Date & Time, Title, Attendee Name, Attendee Email, and Duration (minutes), then select Create Booking.
- Refresh and confirm the saved status. If a calendar or notification service is involved, verify that system too.
What you should see
Visitors are guided through availability and required details, and appointments appear in Bookings. A saved Chyt booking, a calendar event, and a delivered email are separate results. Only promise the results you have configured and tested.
Troubleshooting
- No slots available: check enabled days, timezone, meeting duration, buffer, minimum notice, and advance-booking window.
- No external event: confirm Google Calendar is connected and Calendar Sync is selected. Review provider errors or reconnect if authorization expired.
- A booking appears at an unexpected time: compare the configured timezone with the browser and calendar timezone.
- Chat does not offer booking: verify Meeting Bookings is enabled and saved, and that any active flow reaches an AI/tool-enabled path where needed.
- Confirmation text promises an email that never arrives: correct the message and configure delivery before offering that promise.
Continue learning
Integrations and functions · Flow routing · Messaging channels